Amazon

Showing posts with label My Cricut Craft Room. Show all posts

Monday, December 22, 2014

My Cricut Craft Room- Traditions

12:00 AM 0 Comments
Thanks for coming to day's My Cricut Craft Room  and today's theme is Traditions.

When I was young, I remember my parents and thier siblings getting together to purchase a family tree for my grandparents. It was so pretty and I am sure amy mom has it now since my grandparents passed on. It was a gold leaf tree set on velvet with everyone (at the time) birth stones. I remember for years that it hung in a special place at both Grandmother's house. My brother and I would point to it and say look at everyone in the family.

Sadly it became dated after another cousin was added on one side and than on the other side, about 10 more were added after it.

I really wanted to make one for my parents and it will grow with them (I suspect one more grandkid will be added so I made an extra scallop circle that is on the back).


I used the  Heritage cartridge for the tree as well as the birds and some font that I have imported into CDS for the family name.

I used a punch for the scallop tags and circles. I had cut out some funky tags but really didn't like it so I went with this instead. I just printed up everyone's name on white card stock and punched those out as well. This is a blend of so many ideas!


I used some grey oracle vinyl for the letters on the front. 


I really love how this turned out. I love having an idea in my head and than going to make it into something better than I could of imagined it could be. 

For the paper, I used Stampin Up's new DSP All is Calm which was the perfect color I was looking for with the paper. The frame was a shadow box from the craft store. I would say I spent at nearly two hours creating this and it will wow my mother1


Monday, December 1, 2014

My Cricut Craft Room - Elf on the Shelf

12:00 AM 1 Comments


It is December 1 and that means Christmas will be here soon. In our house, the start of the Christmas seasons starts with the arrival of the Elf (elves) on the Shelf. Our elves aren't actually Elf not he Shelf ones but better as my kids say because they can be touched. 

So today on My Cricut Craft Room, we are featuring that beloved Elf.


Our Elves arrived in style the Friday after Thanksgiving which kicks off the holidays for my kiddos. Last year, I planned every day and created fun digital scrapbook of all the Elves comings and doings. You can check it out here if you like!

SO again this year, I have planned it all out so that when 9 pm hits, the elves are prepared to be placed in their naughty or nice positions. 

This year we kicked off thier arrival with a breakfast on Friday morning which included all sorts of goodies and treats for them.

I used the Jolly Holidays cartridge and the elves on there are so stinking cute.

First I made a banner using basic banner shapes and than using the  Print than Cut feature, did the banner. I wanted something cute that could stay up for the holiday season. 


The goal this year is to make sure Eddie (Mr. L's) Elf makes it with out losing any major body parts but in case he does, a replacement elf has been purchased. 

Thanks for stopping by!


Tuesday, November 25, 2014

My Cricut Craft Room- Modern

12:00 AM 0 Comments


Thanks for joining me today from My Cricut Craft Room and today's theme is Modern!


Today I am showcasing my modern style Give Thanks!

I used some different colors for my Thanksgiving banner with some teals, blacks and orange to give it a different look. these have become so popular for Fall colors. Use traditional colors and add that pop of modern.


I cut all of the black back ins using a fun frame using the cartridge Songbird. 


Here is the layer with the teal. 


Thanks for stopping by!


Wednesday, November 5, 2014

My Cricut Craft Room- Clouds

12:00 AM 0 Comments


Thanks for joining me at My Cricut Craft Room and today's theme is Clouds!!!

I was unsure how I would do clouds for this theme but I came up with this fun scrapbook page for my daughter and my mother in law.


I used my own file for Hello specifically I imported into CDS SU's hello from one of thier digital sets made for ecutters.

Sunshine was from the April Showers Cart and I used the write feature for the Explore.

The rectangles are your basic freebie from CDS and I sized to fit the picture and layered!


The clouds are from the Crocs Rule cart. I just cut out the layers using different types of DSP from SU. Love how they look! 

I love how simple but adorable the page turned out


Thanks for stopping by!

Wednesday, October 29, 2014

My Cricut Craft Room- Sewing

12:00 AM 1 Comments


So today on MCCR, I am doing something outside of the box. The theme for today is Sewing and I thought what could I do. I love to sew a bunch and well I decided to make a quilt. I wanted to showcase how you can make templates using the Cricut instead of buying those expensive ones from the quilt store. 

I went in and used a basic hexagon shape from the My Quiet Book Cart.  It is pretty big like nearly ten inches across. I used some cardboard I had on hand to cut it out using the poster board setting. 

So here is my pile of fat quarters I used from a stash of fabric I have had for ever. I was able to cut at least two hexagons using the template. 

Once it was all together, it had the sticking out edges so I just trimmed them. 

Here is the quilt top. It is lap size and I need to quilt and bind it. 

Thanks for stopping by!


Friday, October 17, 2014

MCCR Blog Hop- Minnie, Mickey and Me

6:16 PM 7 Comments


Thank you so much for joining us on the MCCR Blog Hop featuring our favorite mouses.

I was really excited to do this hop because I had the PERFECT project for it. I have been on occasion helping out friends and well friends of friends in doing thier Mickey shirts for when they go on vacation. 

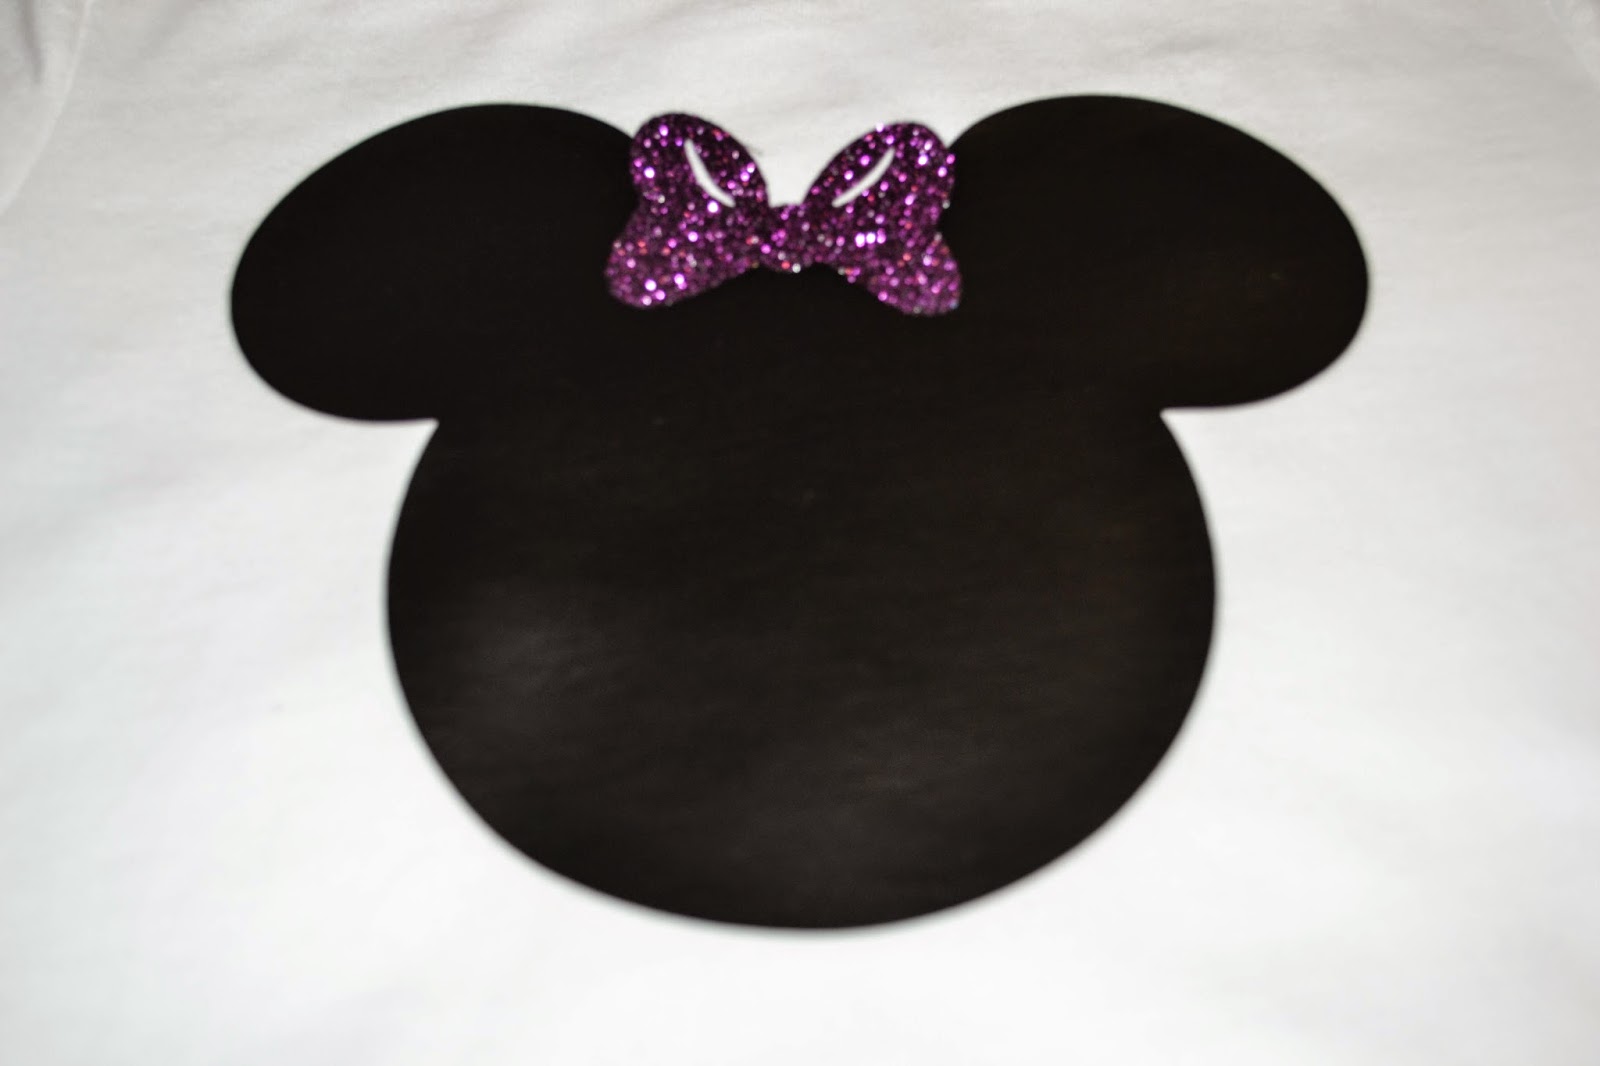
So I had the opportunity to make these three adorable Minnie head shirts using the Mickey and Friends Cartridge. 


Here are the backs of the shirts labeling each of the princesses.


The fronts and each girl got their own favorite color bow.


The youngest is a baby and so I did a onesie for her.


Closer look at the back 


The pink bow is so cute but I also really like the purple bow. 

These were super easy to make. Using my cutter, I sized the mickey head in Design studio for each shirt and than added the bow. I did the same for the back of the shirts as well. I love the templates they offer so I get good sizing for my projects. 

I cut out per the settings for iron on vinyl and of course mirrored my imagine. I ironed them on using a trick I learned by placing a piece of cardboard covered in foil to help heat transfer. 


Thanks for stopping by!


Your next stop on the hop is Pam's blog. 

Make sure to check the rest of the great blogs for the hop. 


Start
7.  Craft Lovers Come Here- http://CraftLoversComeHere.blogspot.com 

Wednesday, October 15, 2014

My Cricut Craft Room- Anything Family

12:00 AM 0 Comments


Here we are showcasing anything family for today's MCCR post. 

So we headed to a family reunion back in August/September (Labor Day) weekend and well I thought why not make shirts for us. 

I used the Varsity Font that is in the Cricut Design Studio and I had my own SVG of the State of Texas and Arizona to represent where Team Benson traveled from. 

I made shirts for my whole family as well as my in laws to wear at the reunion.

The Arizona ones I made for my in-laws

The backs of the shirts!


The Texas version

The Texas Crew's shirts. 

Thanks for stopping by!


Wednesday, September 24, 2014

My Cricut Craft Room- Smarty

12:00 AM 2 Comments


Well today is the "Smarty" theme for MCCR.

So what does Smarty mean to you- for me it was well Going Back to School. 

The kids started about a month ago so the Friday before we had a Back to School Pool Party with some friends. 

We had pizza, snacks, and of course cupcakes. It was a last hooray for the kids before being back in a routine for school as well as a last hooray for us Moms. 

I used the following carts for the party:

Birthday Bash
Recess


Here is the whole layout

Fun favor boxes for the kids. I out dollar store finds in there for them. 

My banner that I made using the cricut. I decided to use picture holders to hold them up. 

Cupcake inserts

Closer look at the ABC banner 

Homemade chalk slate- used a piece of chalkboard paper and stuck it in a unfinished frame. 


Love this fun subway art that I found on Pinterest courtesy of Mom Always Finds Out which I stuck in a glitter frame I had on hand. 


I also used stuff from my stash like the Alphabet stamps I have on hand. 

I really like how it turned out and the kids all went home with smart goodies!


Saturday, September 20, 2014

MCCR Blog Hop - All Autumn Ideas

12:00 AM 2 Comments


Welcome to My Cricut Craft Room's All Autumn Ideas Blog Hop....

You will find many WONDERFUL Autumn ideas along this hop today... Enjoy! 


If you came from My Cricut Craft Room you are in the right place...

If not please visit http://mycricutcraftroom.blogspot.com to start the hop. 


Today I made negative fall art!

I saw this awesome art at the craft store and thought I could make that with the Cricut. 


I took a 12x12 piece of Stampin Up retired Designer Paper and cut out the owl using the Wall Decor and More Cartridge. I matted it with contrasting paper so the cut out pops for you. 

Here is a closer look at the owl. 

I also took the cut out image and glued that on to cream paper and framed that in a shadow box as well. So here I am with two pieces of art from 1 piece of paper and it was so easy to do. I love this idea to change shapes and colors for the seasons. This is a perfect autumn colored project. 


Next you should go to : Laurie's blog

Thanks for stopping by!


The Blog Hop as follows;


Start
5. Trish Carrier http://Ifieverdoit.blogspot.com  
7. Craft Lovers Come Here- http://CraftLoversComeHere.blogspot.com