Amazon

Tuesday, December 24, 2013

The Elves on the Shelf

1:06 PM 0 Comments
We don't have "official" elves on the shelves. I am not the crazy to spend that kind of money and I know my kids would not be able to resist touching them.

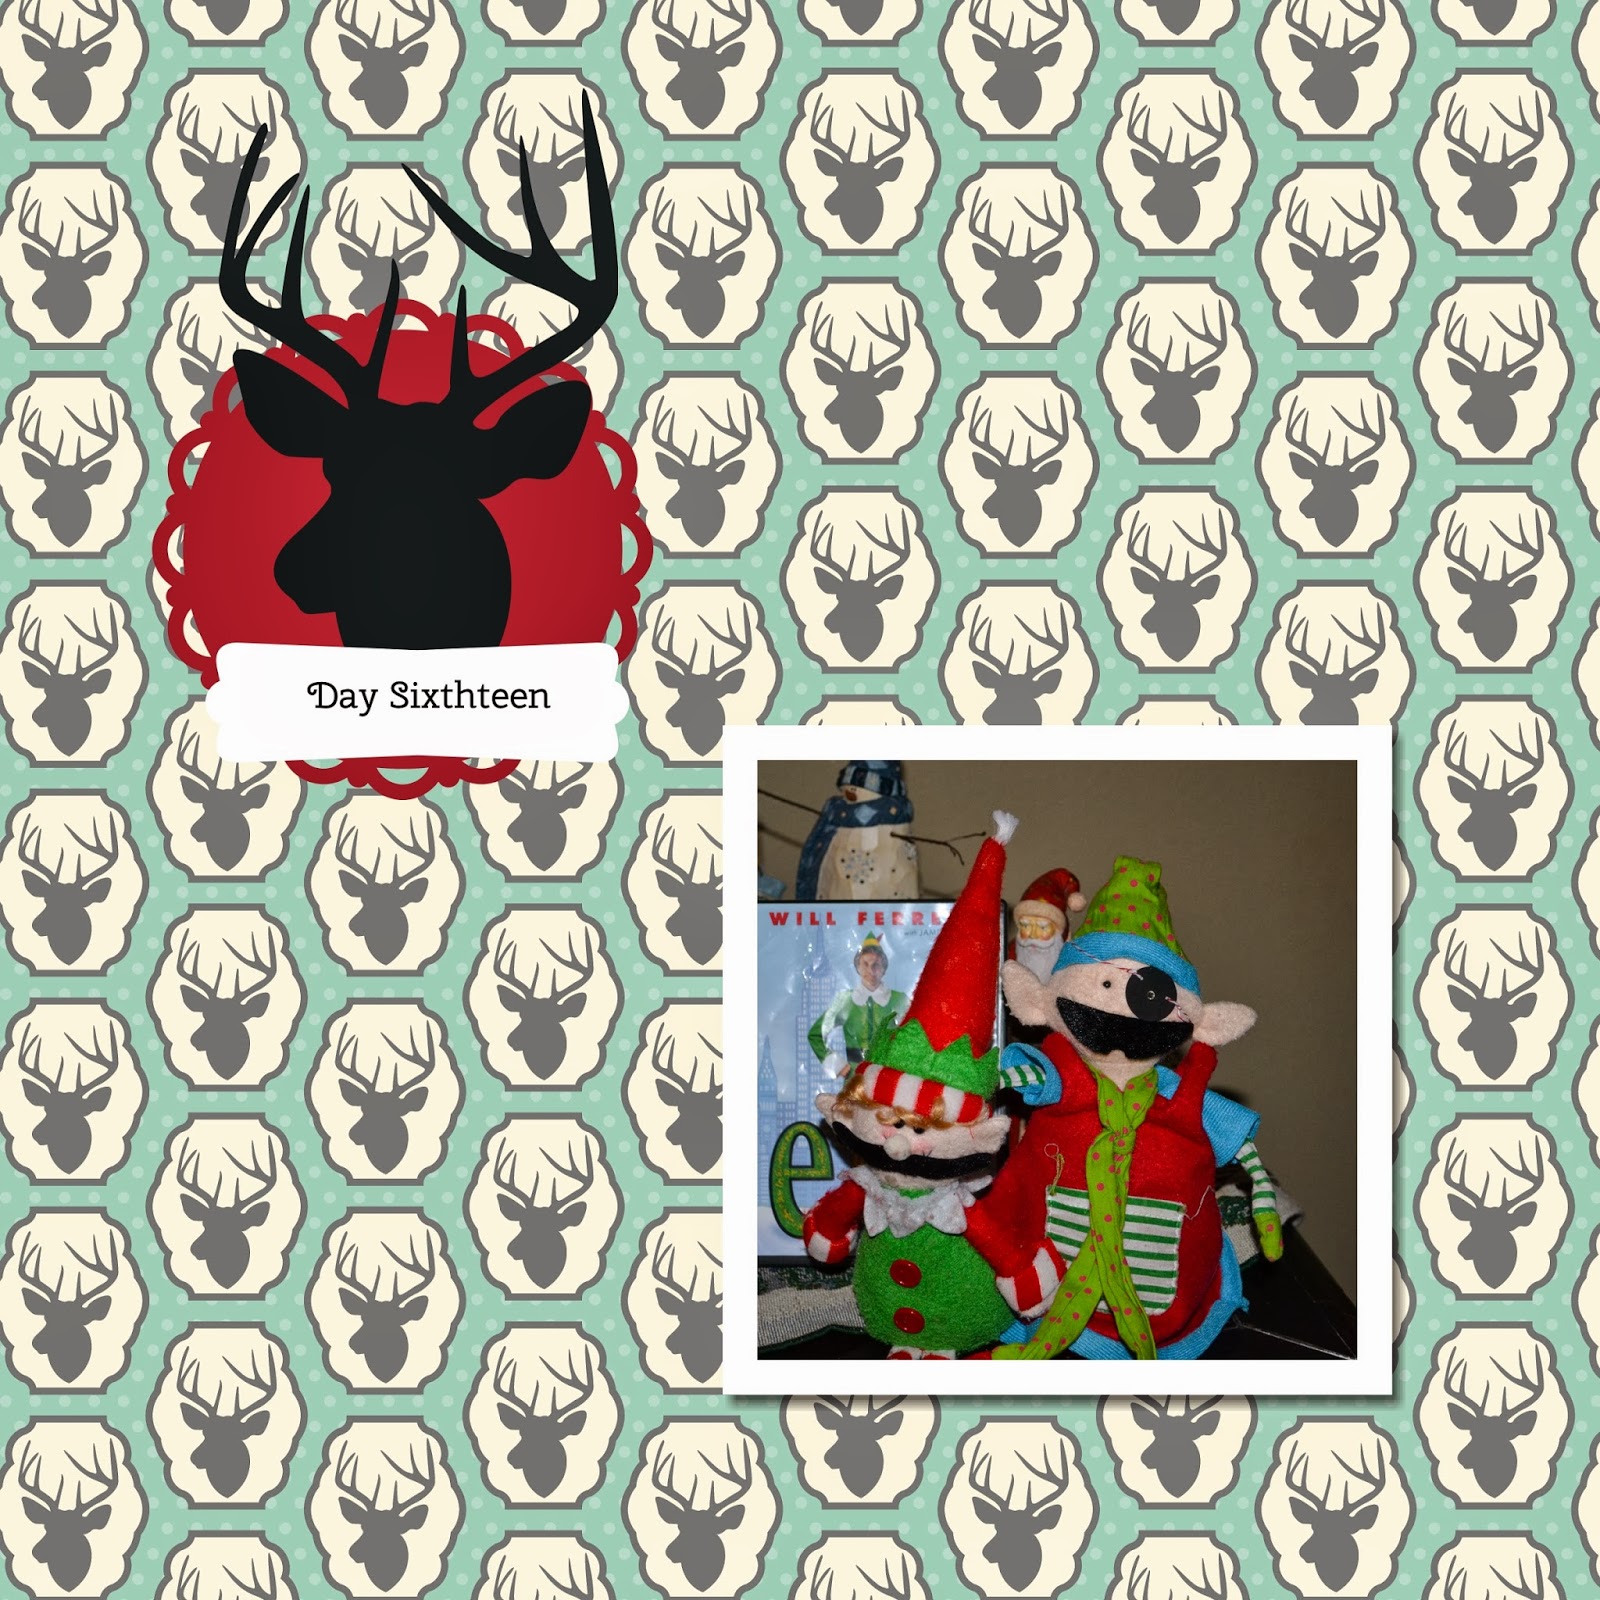
Our Elves had a crazy and wild ride here. One lost both eyes and had to have eye surgery while the other had an arm nearly ripped off, wear to the neck and of course fell into the toilet after someone decided he needed to poop mints (by the way- the mints dissolve in the toilet over the course of the night but the elf placer ignored that warning).

So tonight the head back to the North Pole and the kids bid them farewell. Have to say I don't hate them nearly as much as I did last year. A little planning goes a long way and I am proud to say I only really forgot one time (waking at 2am and shooting out of bed).

Here are all the Elves antics over the time they were here.


Tuesday, December 17, 2013

The Technique Twist- Faux Tiling #13

11:52 AM 5 Comments


There are two great tutorials for Faux tiling which can be found here:

Splitcoast

The Write Stuff

Both are great resources in creating Faux tile and I have made plenty of cards using these techniques. On Technique Twist, the catch is to try something different and have a twist on it. So I thought that the Stampin Up Honeycomb Textured Embossing folder  actually seemed like tile and the more I thought about it as like a version of fun subway tile.

So I embossed some Very Vanilla paper and wrapped the card with some linen ribbon. I than stamped on the Little Sailboats from Greetings From Set from SU! in Midnight Muse. I than took the Sending Love stamp from the same set and stamped that in Real Red and punched it out using the 7/8 scallop punch.

So my twist on it is using the embossing folder as tiles. I felt the honeycomb lent it self well to the idea of tile. To be honest though not sure if I love the card but love the idea of it.

Supplies used (all Stampin Up!):

Honeycomb Embossing Folder
Very Vanilla Card Stock
Pool Party Card Stock
Linen Ribbon
Greetings From Set
Real Red and Midnight Muse Ink

Looking forward to becoming part of the Technique Twist Design team in 2014. My first project will published on January 4 for the Design Team!!!

Stampin Celebration Inspiration Challenge #73

11:36 AM 4 Comments
SCIC had another inspiration project for this month and I did another digital scrapbook page. I did the fun Elf on he Shelf Page for the Christmas inspiration and this week I did one of the kids for the holidays in their Christmas PJs.


So here is the inspiration sketch:

Here is my MDS creation using the sketch. This would be a fun one to also make with real papers. 


Monday, December 16, 2013

The House All Dressed Up For Christmas

12:00 AM 0 Comments

I have to say I love Christmas. I love the lights, the decorations, and well just being together with the family. I could totally do without all of the presents. 

So when Christmas rolls around the house is fully decorated and yes I sort of always have a theme as well. 

This is the front door area.


I bought a small pine tree and decorated it with lights. I than took my sign post added the fun decorated sign I made. I got some jeweled letters for NOEL.


I made this wreath to hang on my outside wall. To be honest I don't love it just like it. 


Now I really wanted a lantern to decorate and I love it. I used left overs from my wreath party and some burlap ribbon I had intended for my tree topper until I found a tree topper I loved. 


The overall front door. I bought a live swag from the store and added the magic santa key into it (hard to see in the picture. 


The Christmas tree. I wrapped in burlap ribbon that says Happy Holidays. I wanted Merry Christmas but every where was out so I settled on that. All the ornaments are our fun memory ones. I usually have a color theme and refuse to stick anything on the tree other than the solid balls but this year we got a real tree and it just seemed to fit better. 


Here is my piano area. I created the banner from a kit and decorated it all up in festive red and green colors with the pop of the NOEL. 


This is my dining room buffet area. I changed it up some with my standard wreath and than added in the Santa sleigh which was also a kit to put together. 


This is my family room mantel. We don't have a fireplace so this is a mantel shelf my hubby built. I really wanted to do things in burlap and feel in love with the sign at Hobby Lobby. A friend who came by one day instantly told me how much she loved the sign. 

So that is the hose all decorated for the Holidays. Soon it will be filled with family from afar and it won't be so nice looking but there will be lots of love!!!

Thursday, December 12, 2013

Wednesday, December 11, 2013

12 Days of Christmas Crafts- Day 11

12:00 AM 0 Comments

I bought these mason jars for Halloween and forgot about them. So when I was digging things out of my closet, I found them. I was working on another project when it hit me to die cut the snowflake out of the contact chalkboard paper. I wrapped some Washi tape around the outside and than stamped and cut out another snowflake. I have no idea what I will stick in them so them might be decorations!


Tuesday, December 10, 2013

Monday, December 9, 2013

12 Days of Christmas Crafts- Day 9

12:00 AM 0 Comments


I have to take a gift to our stamp club party and I decided to make this sign. It was all from stuff I had around the house. I printed up Merry Christmas on the printer in the font and size I wanted. I than took a piece of cardstock and covered it with the chalkboard contact paper I have. 

I than laid the paper over the chalkboard and traced the letters. After that I took the SU chalkboard pen and wrote over the letters and free handed the bottom part. 
I covered the mat with some SU DSP and die cut out the banners and the snowflakes. I love how it turned out and I think I might make myself one. 


Sunday, December 8, 2013

12 Days of Christmas Crafts- Day 8

12:00 AM 0 Comments

My co-leader with Girl Scouts asked me to do these as a craft and I started laughing because I had already planned on it. There were so easy and I knew our 7 and 8 year olds could create them.

It was a tealight which I picked up from the dollar store. I punched both a large square (cut into thirds) and a small square for the hat. I than took a sharpie marker for the eyes and mouth and a red marker for the cheeks. I wrapped it with the ribbon and taped the hanger in the back. 


Saturday, December 7, 2013

12 Days of Christmas Crafts - Day 7

12:00 AM 0 Comments
 Okay you might have seen this on my blog already for a challenge I did but I wanted to add it in to my fun list of stuff I created for the holidays.

This Happy Holidays Memo board was so easy to make.  I had bought the frame off the clearance rack awhile ago and had it for a project. I had thought that I might do a fun printable in it but than I saw the challenge and it was created.

I used a variety of stamp sets as well as MDS to create the title. I also die cut out the stamped snowflakes which is part of the festive Flurries set (you might notice I really like that set).